8 Getting QGIS Ready to Use
9 Installing QGIS
9.1 Device Requirements
To install QGIS, you will need a laptop or desktop computer running Windows, MacOS, or Linux.
You will not be able to install the software on a phone or tablet! While versions exist for these devices, they are aimed more at conducting fieldwork than doing the sort of task we’ll be covering in this course.
9.2 Installing QGIS
QGIS is widely used across the globe, and is totally free, with the code for the program also made available.
QGIS is used by tens of thousands of users - some statistics can be viewed here if you are interested.
If your organisation has had someone on the HSMA programme in the last few years, they will have been required to download QGIS, so the software may already be available in your organisation’s software centre. If so, click here to jump to the section on checking your version to ensure that the version you are running is suitable for the workshop.
If you are installing QGIS for the first time without using a software centre, head to this page - https://qgis.org/en/site/forusers/download.html - and click on the appropriate box for your operating system. The box may open automatically.
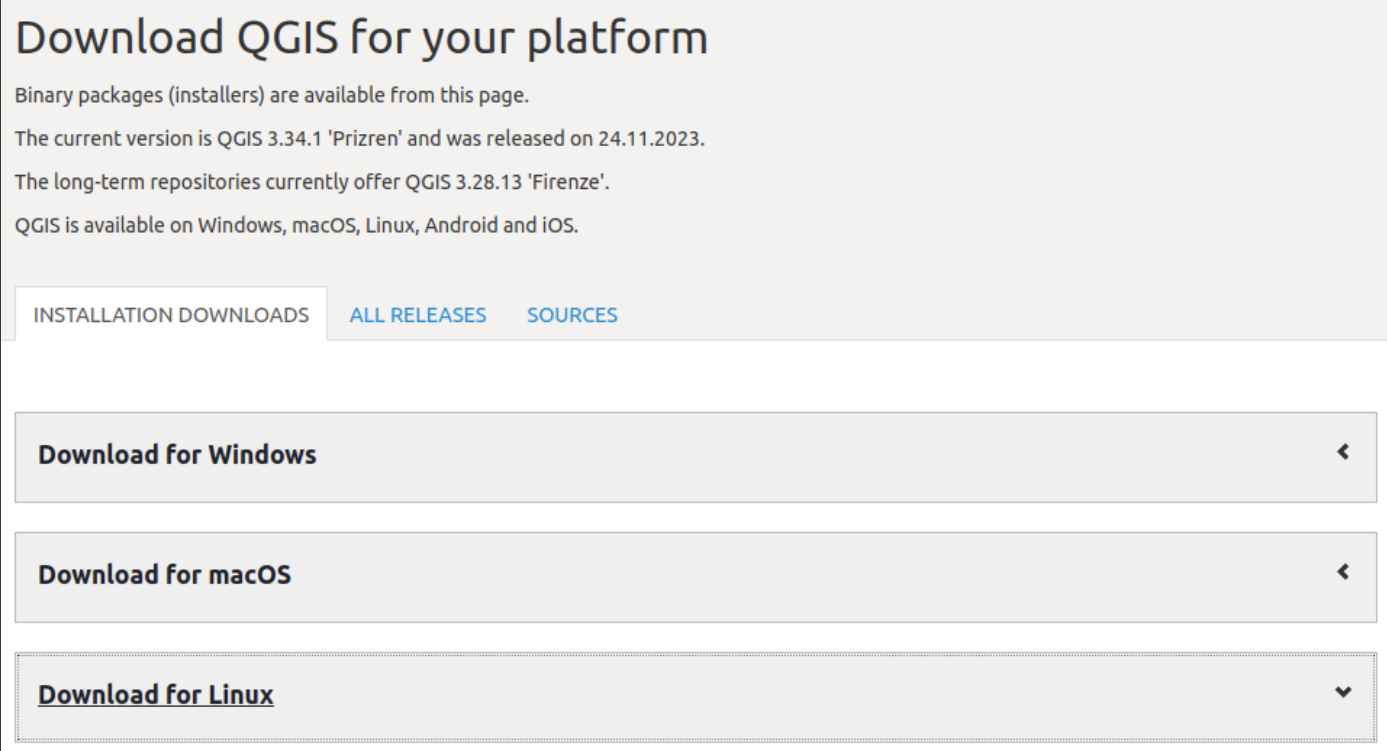
We would recommend going directly to this page rather than searching Google or Bing for QGIS as we know the link above is correct and you won’t redirected to a third-party download site - using the link provided above ensures you are getting the software directly from the QGIS team.
Don’t worry if the version number doesn’t exactly match the screenshots below - it will just automatically download the most recent release, which will be fine for the course.
More detailed instructions for Windows are given below.
9.2.1 Windows
Note that installing the software will require administrator rights. If you are on a personal device this will not be a problem.
If you are installing it on your work device, please make sure you have gone through the appropriate processes with your IT department.
Click on the green banner to download the installer.
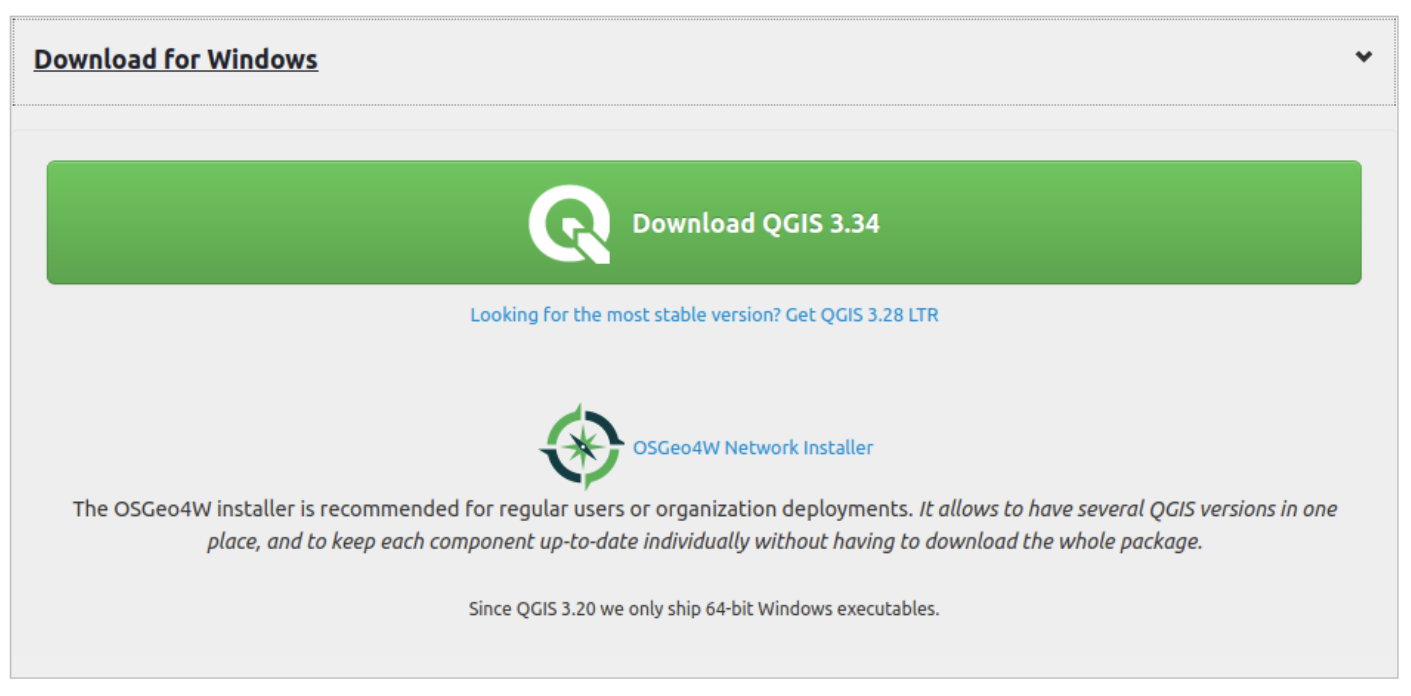
The download will take roughly 5 to 15 minutes, depending on the speed of your internet.
When the installer has downloaded, find the file in the folder you saved it to, and double click on the file.
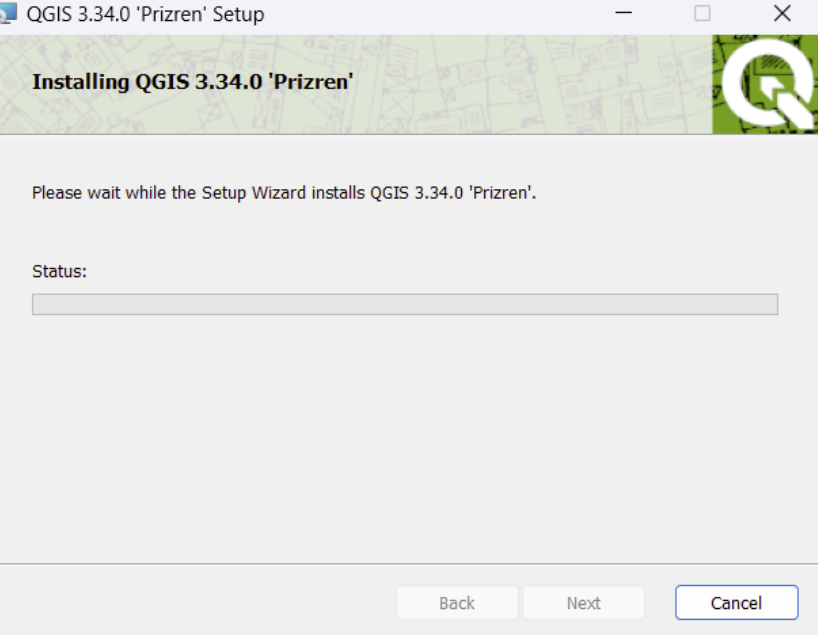
Follow the instructions in the window that appears to install QGIS on your device.
When you reach the step below, it may appear to pause for a long time with the progress bar not filling up.
If this happens, check your windows taskbar for the following icon:
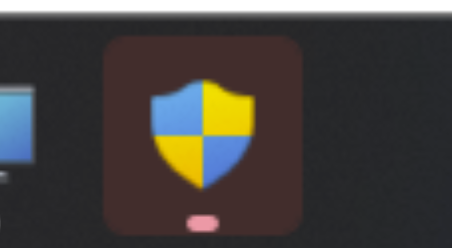
This is a pop-up for Windows user account control. You may need to click this and authorize the installer.
The process should then take a maximum of 10 minutes to complete.
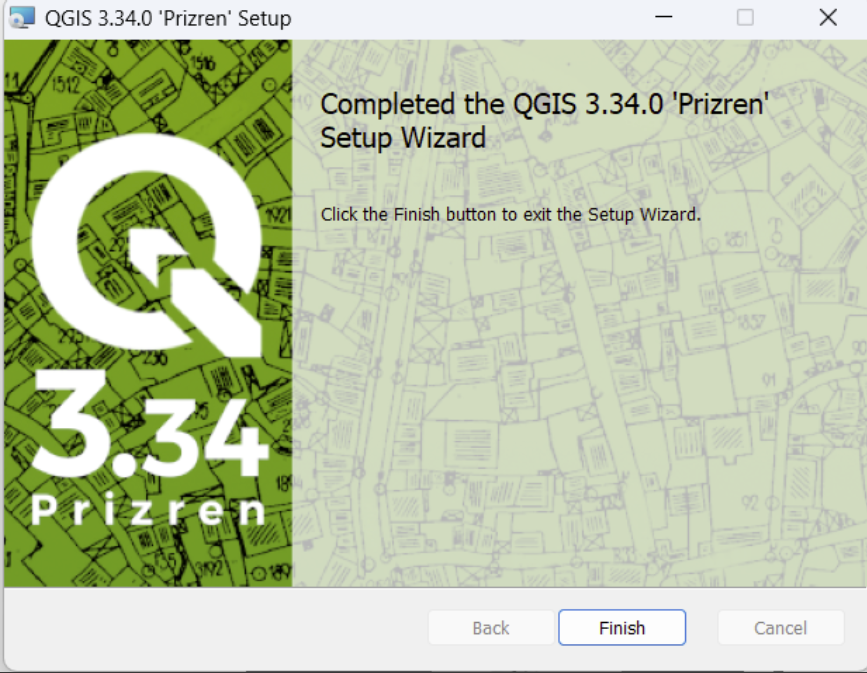
Click ‘Finish’. You should now be able to run QGIS from your start menu or an icon on your desktop.
Checking the version of an existing QGIS install
If you are using an older version your organisation has approved, you may wish to check the version number.
If the version number is lower than 3.0, you may find the layout is a bit different to the version we use in the workshop.
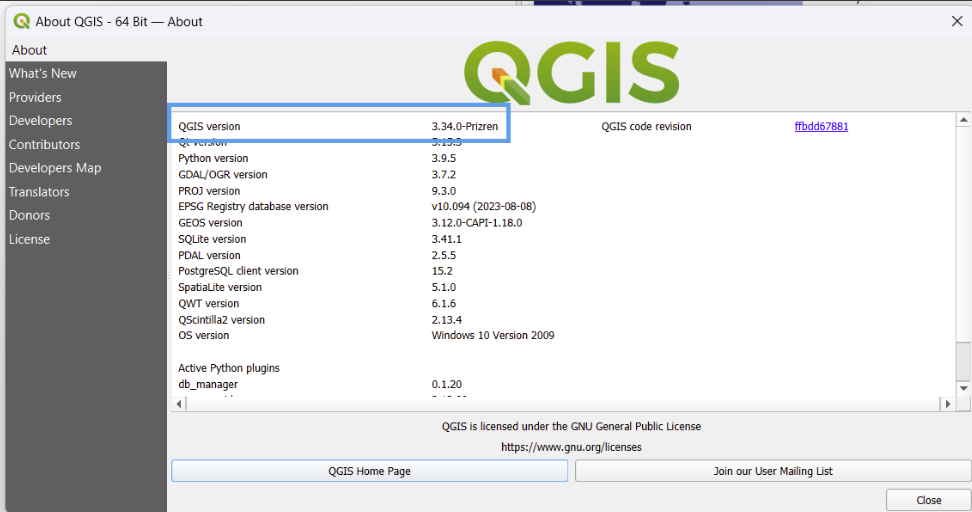
To check the version this, open QGIS up, hover over ‘Help’ in the top menu bar, and then click ‘About’.
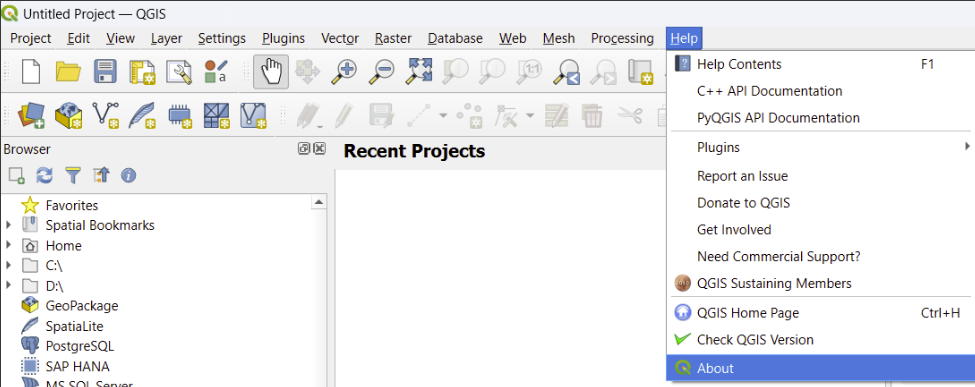
The top line will tell you which version of QGIS you are currently running.
You can also choose ‘Check QGIS Version’ from the same menu, but this isn’t quite as reliable!
9.3 Selecting panels
When you open up QGIS for the first time, a few of the different panels you will need to use are hidden by default.
![]()
Let’s make sure we all have the same tools available
Click “View” → “Panels”
Make sure - “Browser”, - “Layer Styling” - and “Layers” all have a tick next to them
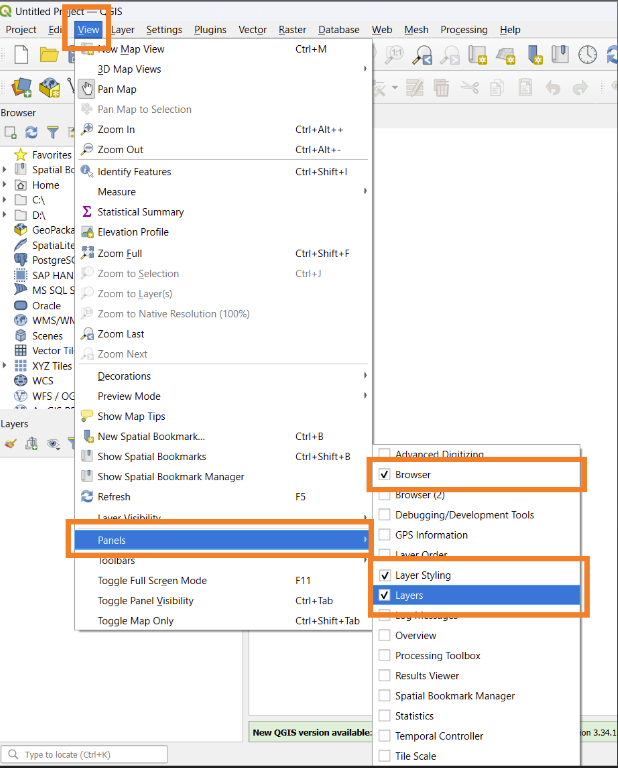
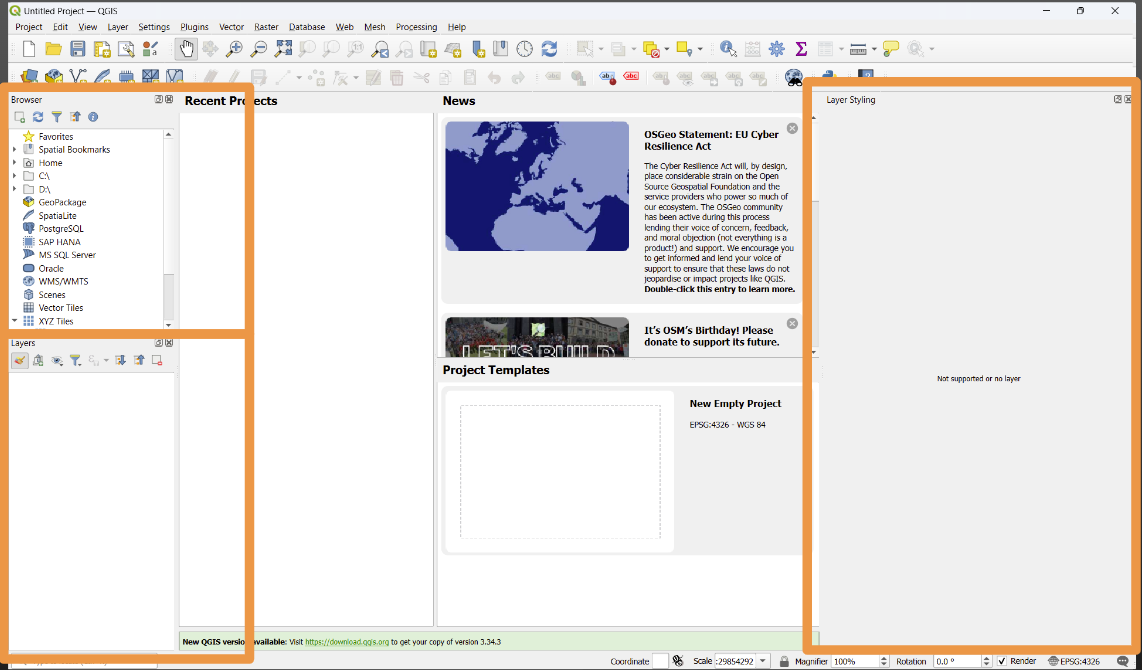
Now our QGIS should look a bit like this, with the panels highlighted in orange (browser, layer styling and layers) all visible on the screen.
9.4 Moving around QGIS
To move around your maps, you will need two key tools: move (pan) and zoom.
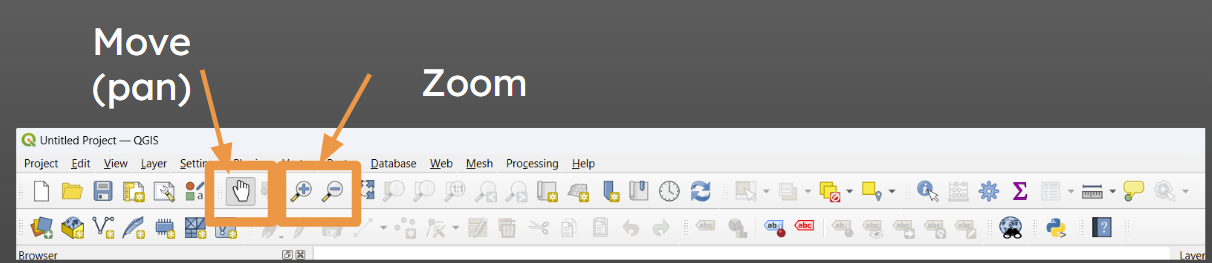
However, if you’re using a mouse with a scroll wheel, you can use that instead of the zoom buttons. The zoom will be centred around the point your mouse is hovering over, which can be useful for getting to a certain point quickly!
Or on a laptop trackpad, you can “pinch” outwards to zoom out, and inwards to zoom in.
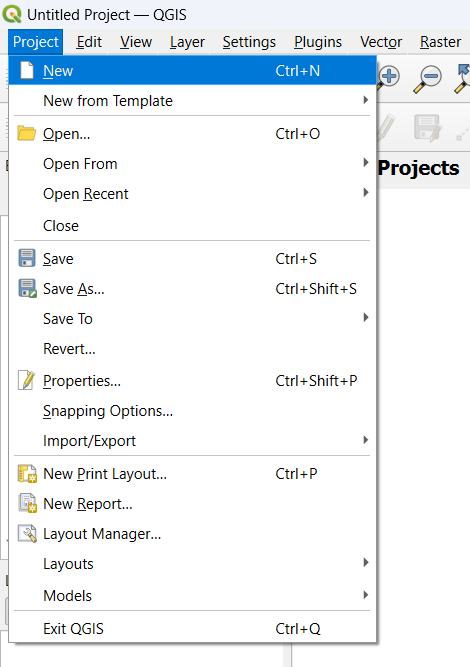
9.5 Starting a project
Now you will want to start a new project.
Click “Project” → “New”
Now it’s time to add our basemap - so head to the next chapter to find out how to do that.