14 Print Layouts in QGIS
There are quite a few ways to export your map.
14.1 Simple exports
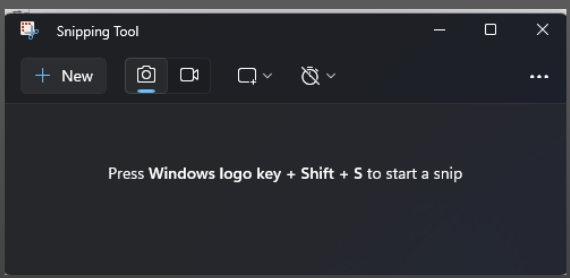
On Windows, you can use the snipping tool.
- On windows 10, use 🪟+ Shift + S to open the snipping tool.
- On windows 11, use the
prt sckey
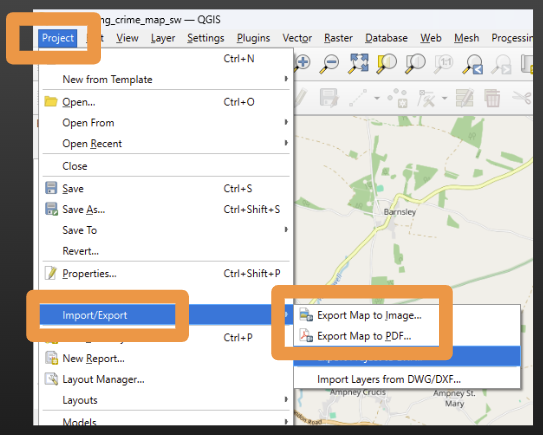
You can also export the in-view portion of the map as either an image or a PDF
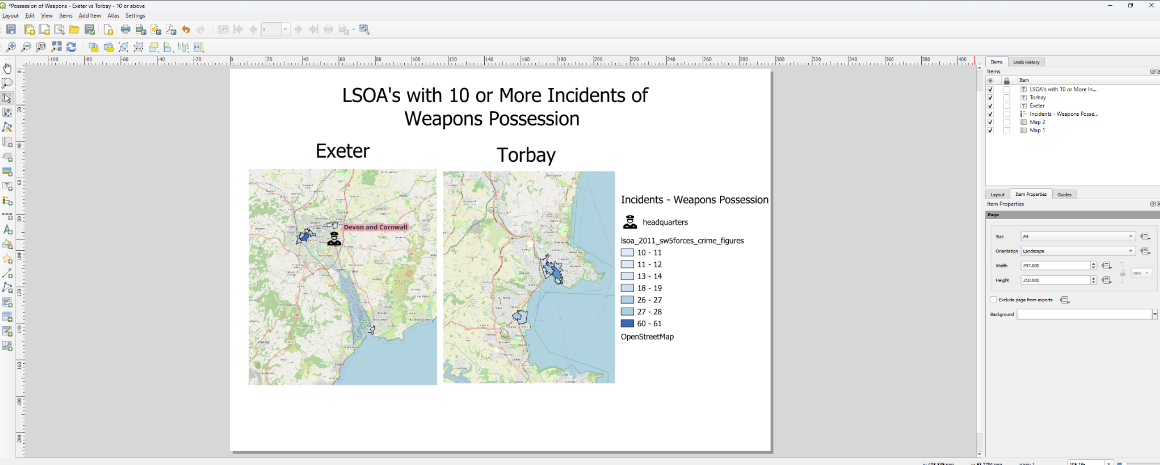
14.2 Print Layouts - why bother?
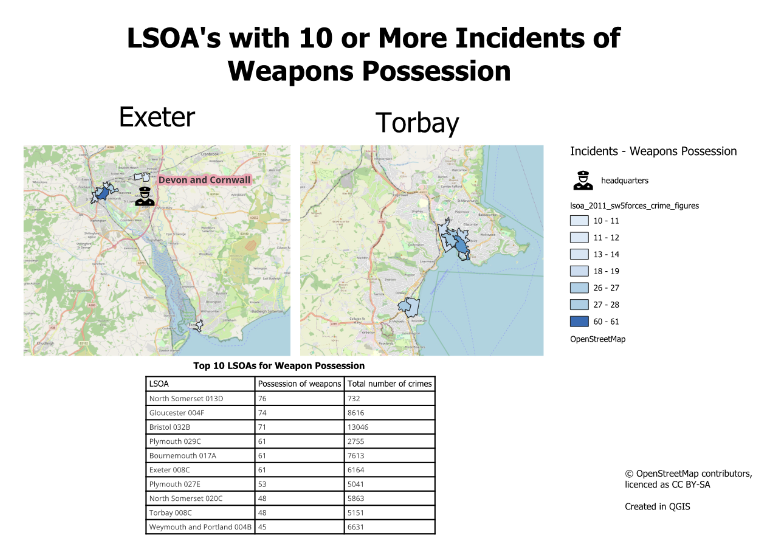
If you want to include a title, legends, or multiple maps on one page from within QGIS, you will need to create a print layout.
We can build up to a map that shows multiple useful things.
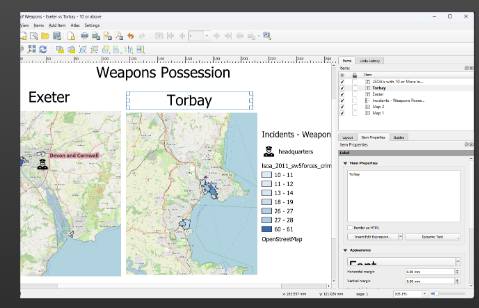
14.3 Creating a new print layout
Choose project –> New print layout.
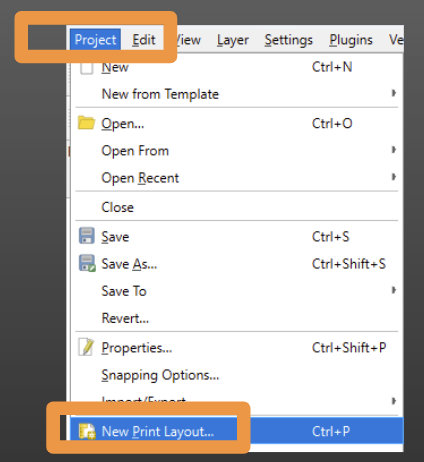
You can have multiple print layouts per map, so it’s a good idea to give it a descriptive title
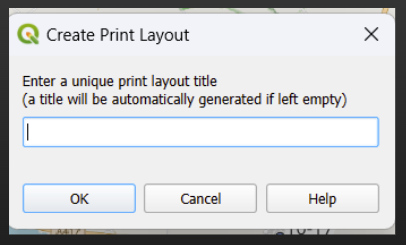
The print layout will open as a new window.
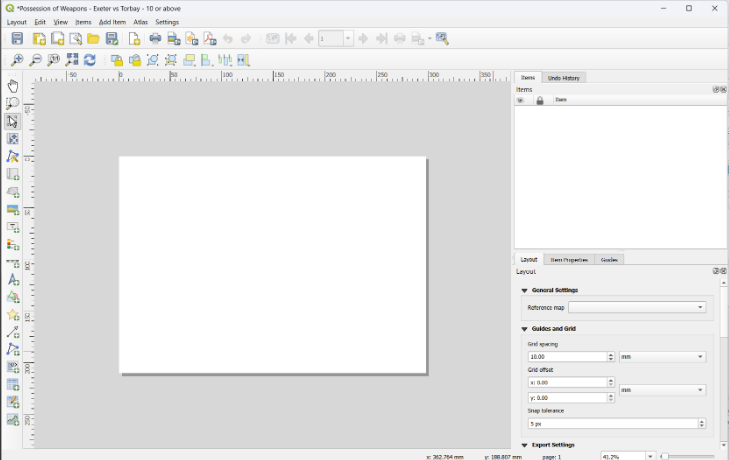
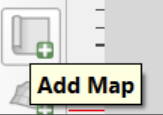
14.4 Adding in a map
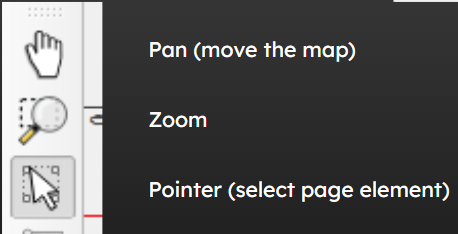
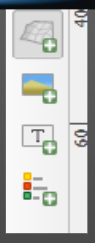
First you will want to add a map by clicking on this icon in the list down the side.
These icons are key for moving around in your map and selecting elements of your print layout.
14.5 Legends
You may next want to add a legend.
Like before, draw the legend onto the canvas.
With the legend selected on the canvas, you can choose ‘Only show items from inside linked maps’ to remove any parts of the legend that don’t relate to what is shown on the screen.
14.5.1 Legend titles
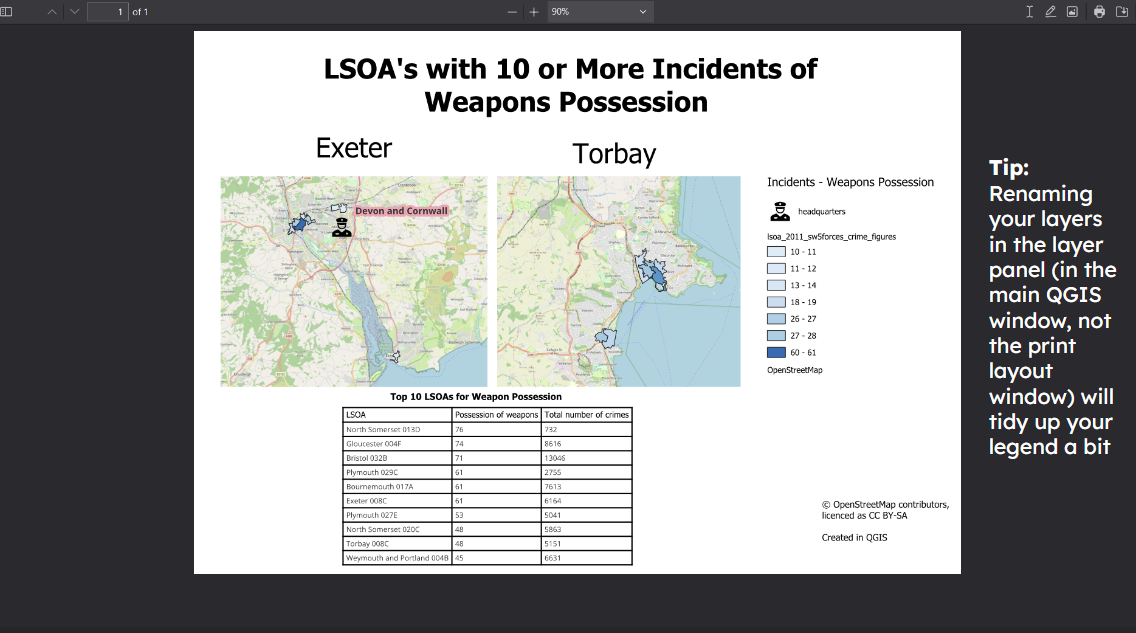
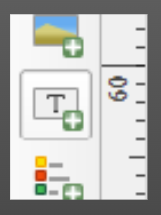
14.6 Labels and Titles
You may want to add labels or titles.
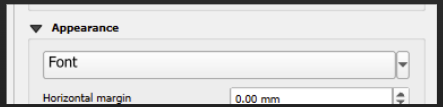
The contents has to be edited using the label box in the ‘item properties’ section.
You can adjust the font size by clicking on the ‘Font’ box inside the ‘Appearance’ section.
Once you have one label, you can copy and paste this to speed up creating additional labels.
14.7 Attribution
If using the OpenStreetMap basemap that is built into QGIS, add a label like the following to comply with the licence:
© OpenStreetMap contributors, licenced as CC BY-SA
It is also good practice to acknowledge the software with a label like Created in QGIS
14.8 Extending your print layouts further
There are a range of additional things you can add to your print layouts, like
- images (perhaps the logo of your organisation)
- tables of relevant data
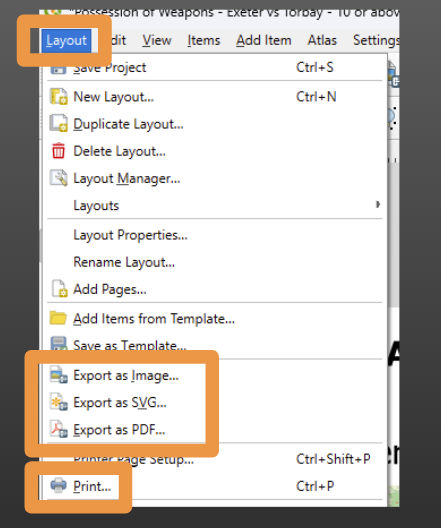
14.9 Exporting print layouts
From within the print layout window, we can choose the “Layout” dropdown menu to find several different formats we can export our print layout in.